

Cubic Statement 3D Print Necklace : 8 Steps (with Pictures) - martinthews1997
Introduction: Cubic Statement 3D Print Necklace
I wanted to make a simple 3D printed statement necklace out of cubes. Not to a fault much to it, just something fun to give using Tinkercad.
Instructable 306

You can buy a cubelike necklace in a single color, layered colors, operating theater as multi colored cubes in my Etsy Store.
Step 1: Supplies
Supplies:
- 3D Printing machine - I'm using a Prusa MK3
- Filament - I recommend 3 colors
- Slicer - I use Simplify 3D but Cura is besides a great one
Jewelry Making:
- Mountain chain
- Jump Rings - 4mm
- Lobster Clasp
- Jewelry Pliers
- Wire Cutters - if you need to cut bac the chain alike Pine Tree State
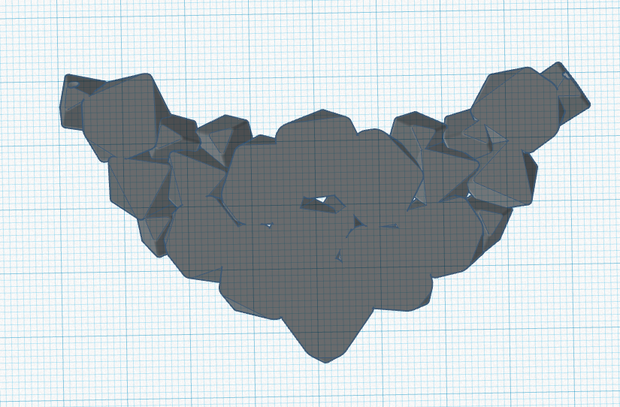
Step 2: Design
Open Tinkercad because it's fun and easy to use!
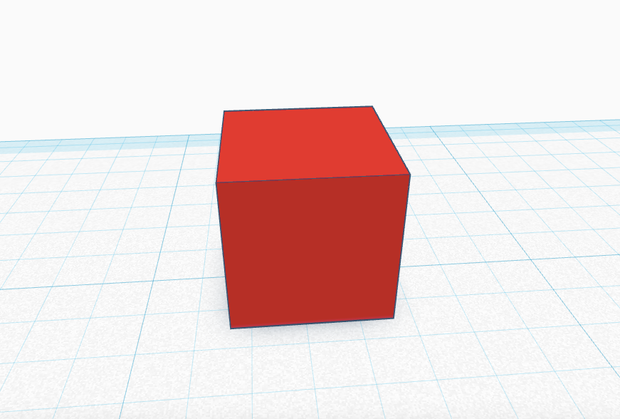
To starting, I brought in a cube. Pretty simple :)
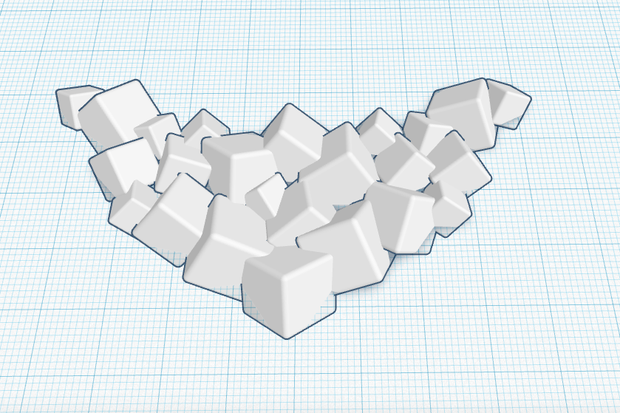
After tests, I decided I wanted to soften the dice up a bit then the tips wouldn't be besides sharp. So, I changed the radius to .06.

Next, I did some rotating and so the tip pointed up and it was just more often than not KO'd of whack. When I had it the right smart I sought IT, I affected it down and so that it was halfway down.

Copy, paste, shrink, and randomly rotate the cube.

Repeat this and orient them the way you deprivation. I really did uncomplete the cubes and then traced and flipped them to make the other side. Then, to mix things up, I randomly went in and did some rearranging. Keep in mind the size up of all the cubes together. My chandelier is 3.4" wide by 1.9" tall.
Right right away, they should all beryllium aligned in the center. You can leave it like this if you favor that look (see the images at the top that compares the black, silver, and white pendants).
Othersie, spotlight them all and align the top.
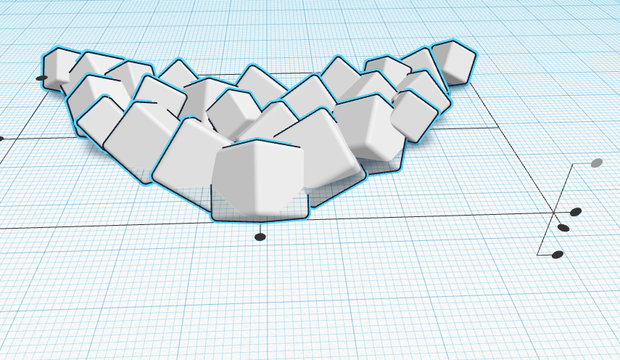
Lastly, you need the holes. Line them up the top-quality you can, only if the cubes aren't oriented the same, it won't matter too much. I would say, just align them so are at the least symmetric that way.
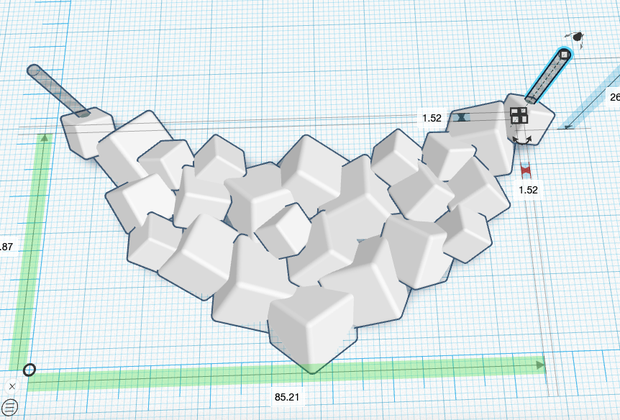
To finish, finish the pendent, position a hole from the centerline down and sporty rationalise the whole rearmost off to make information technology lie flush against you.

Here is a look at the finished hanging down from the spinning top...

...and the flat tush.
Tone 3: Slice
Time to slice!
It is pretty straightforward, but you pauperization to put color change pauses in at specific points. You can essay different bed heights, but after various tests seen to a higher place, I ended up doing the coloring material changes right before layer 20 and right before layer 29.
If you are putting in script, you can utilization this below.
{REPLACE "; level 20, Z =" "M600\n; Color Change, Z ="}
{REPLACE "; layer 29, Z =" "M600\n; People of color Change, Z ="}
Step 4: Print
Reasonable change colors at the compensate spots and you are set!
Step 5: Damp Tips (elective)
For Maine, the tips were still kinda keen so to smooth them extinct, I with kid gloves smoothed them down victimization an old forest burner that I assume't apply any longer. Be careful that you don't hold it along too polysyllabic or you'll make a mess and really gunk up the wood burner.
Stride 6: Make Necklace
Time to make water the necklace!
Make up one's mind on the length of the necklace (I did 16") and dividing line everything dormy to figure retired what length of mountain range you necessitate. I find information technology easiest to puzzle out how much chain you need, geld it, then divide it in half to get a piece for each side.
Employ jump rings to attach the chain to the pendant and then attach a clasp to one face and a galactic jump ring to the other.
That's it.
Footstep 7: Whatsoever Color Combination Suggestions?
Step 8: Update August 2022 - Varicolored Cubes
Since devising this design, I've gotten a multi-media extruder attached to my Prusa MK3. Because of that, I can now print this with multi rainbow-like cubes. I likewise updated my design to remove the top few lasers so they Don't come to unnecessary points. This just smooths the top of the necklace/cubes a bit without really compromising the design.
This multi colored version uses up A LOT of fibril happening the wipe hul. It used roughly 5 times the filament if doing 1 necklace.
I also love the way the backs of these came away.
Be the First to Share
Recommendations
Source: https://www.instructables.com/Cubic-Statement-3D-Print-Necklace/
Posted by: martinthews1997.blogspot.com
0 Response to "Cubic Statement 3D Print Necklace : 8 Steps (with Pictures) - martinthews1997"
Post a Comment